 Support


Quick Navigation
Before You Begin
You have the ability to decide whether public webcams will be accessible by customers at no cost or will require a charge to view. By default, there is no charge associated with public cameras. If you would like to charge for access to public cameras during a reservation stay:
Navigate to Left-hand Navigation: Admin » Webcams.
Enable the Require Webcam Service for Public Cameras setting.
This setting applies to all locations in your app. When it's on, Gingr will check if a reservation includes the webcam service before showing the cameras to pet parents.
Configure Gingr for iDogCam
Once you've received your Kennel ID from iDogCam, follow these steps to integrate your webcams with Gingr:
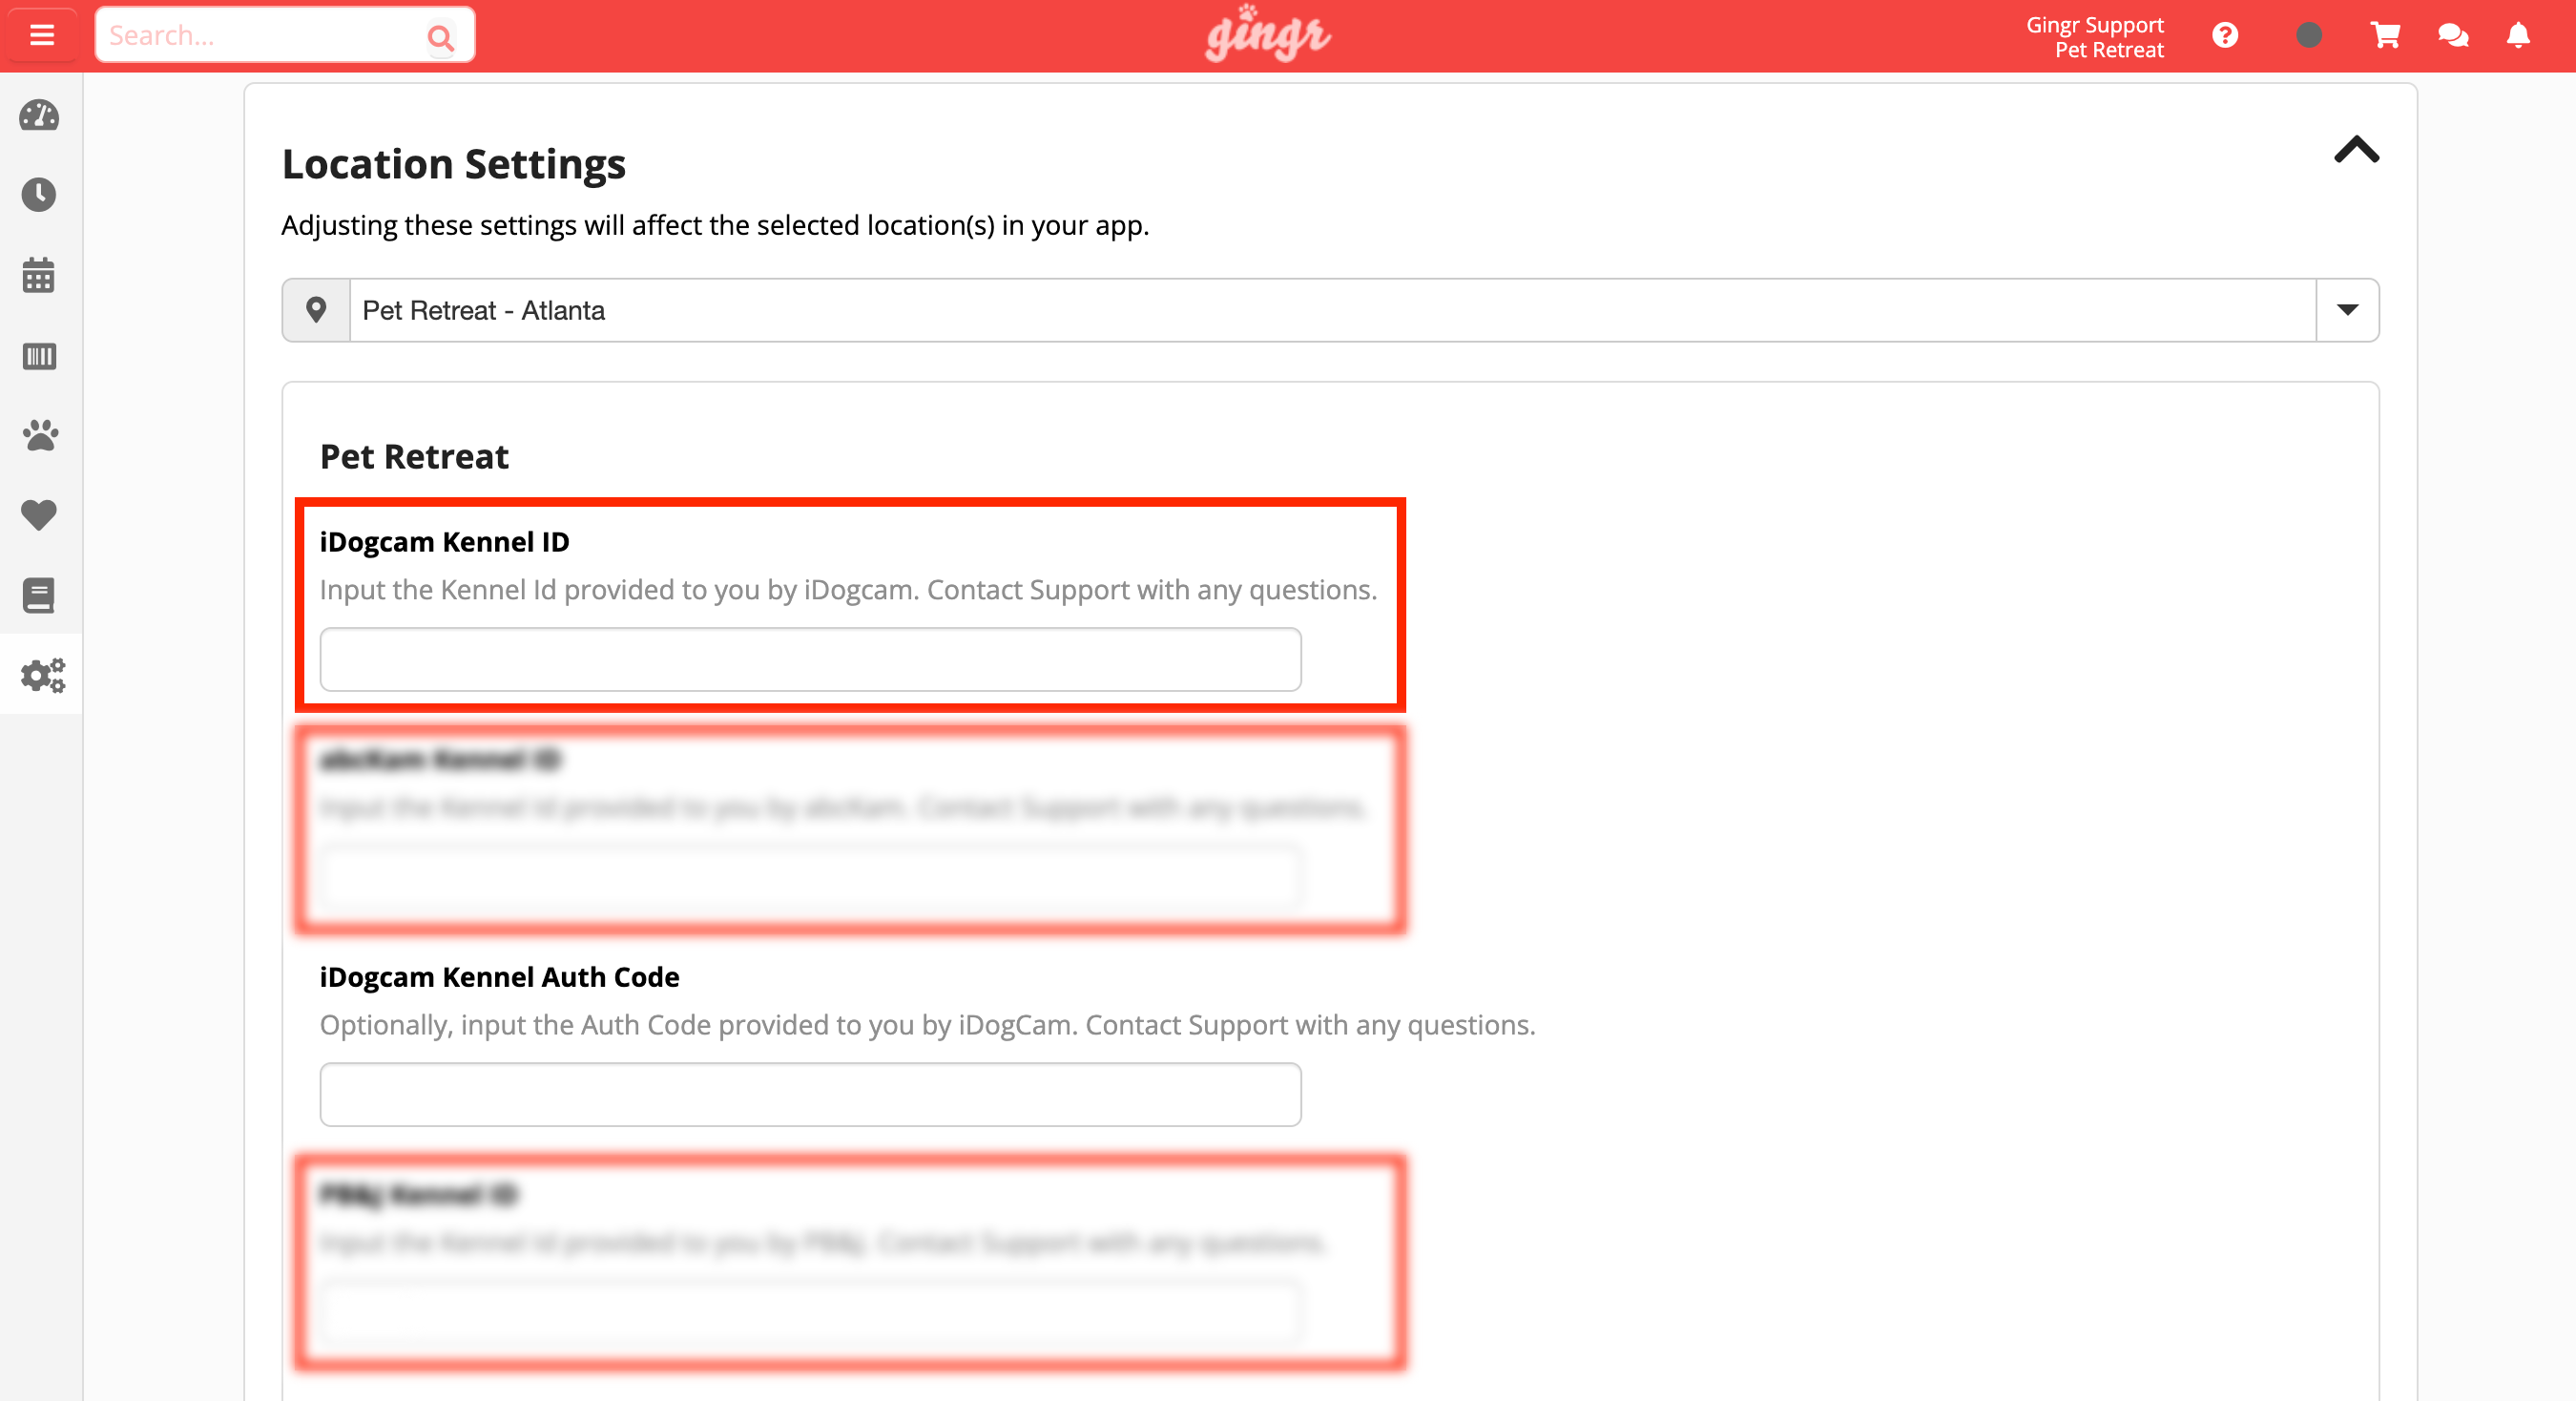
1. Navigate to Left-hand Navigation: Admin » Webcams
2. Use the drop-down location selector to select the appropriate location if you have multiple locations, to make sure that you adjust the settings for the correct location.
3. Input your Kennel ID in the corresponding field:
- Use the iDogCam Kennel ID field to enter your ID.
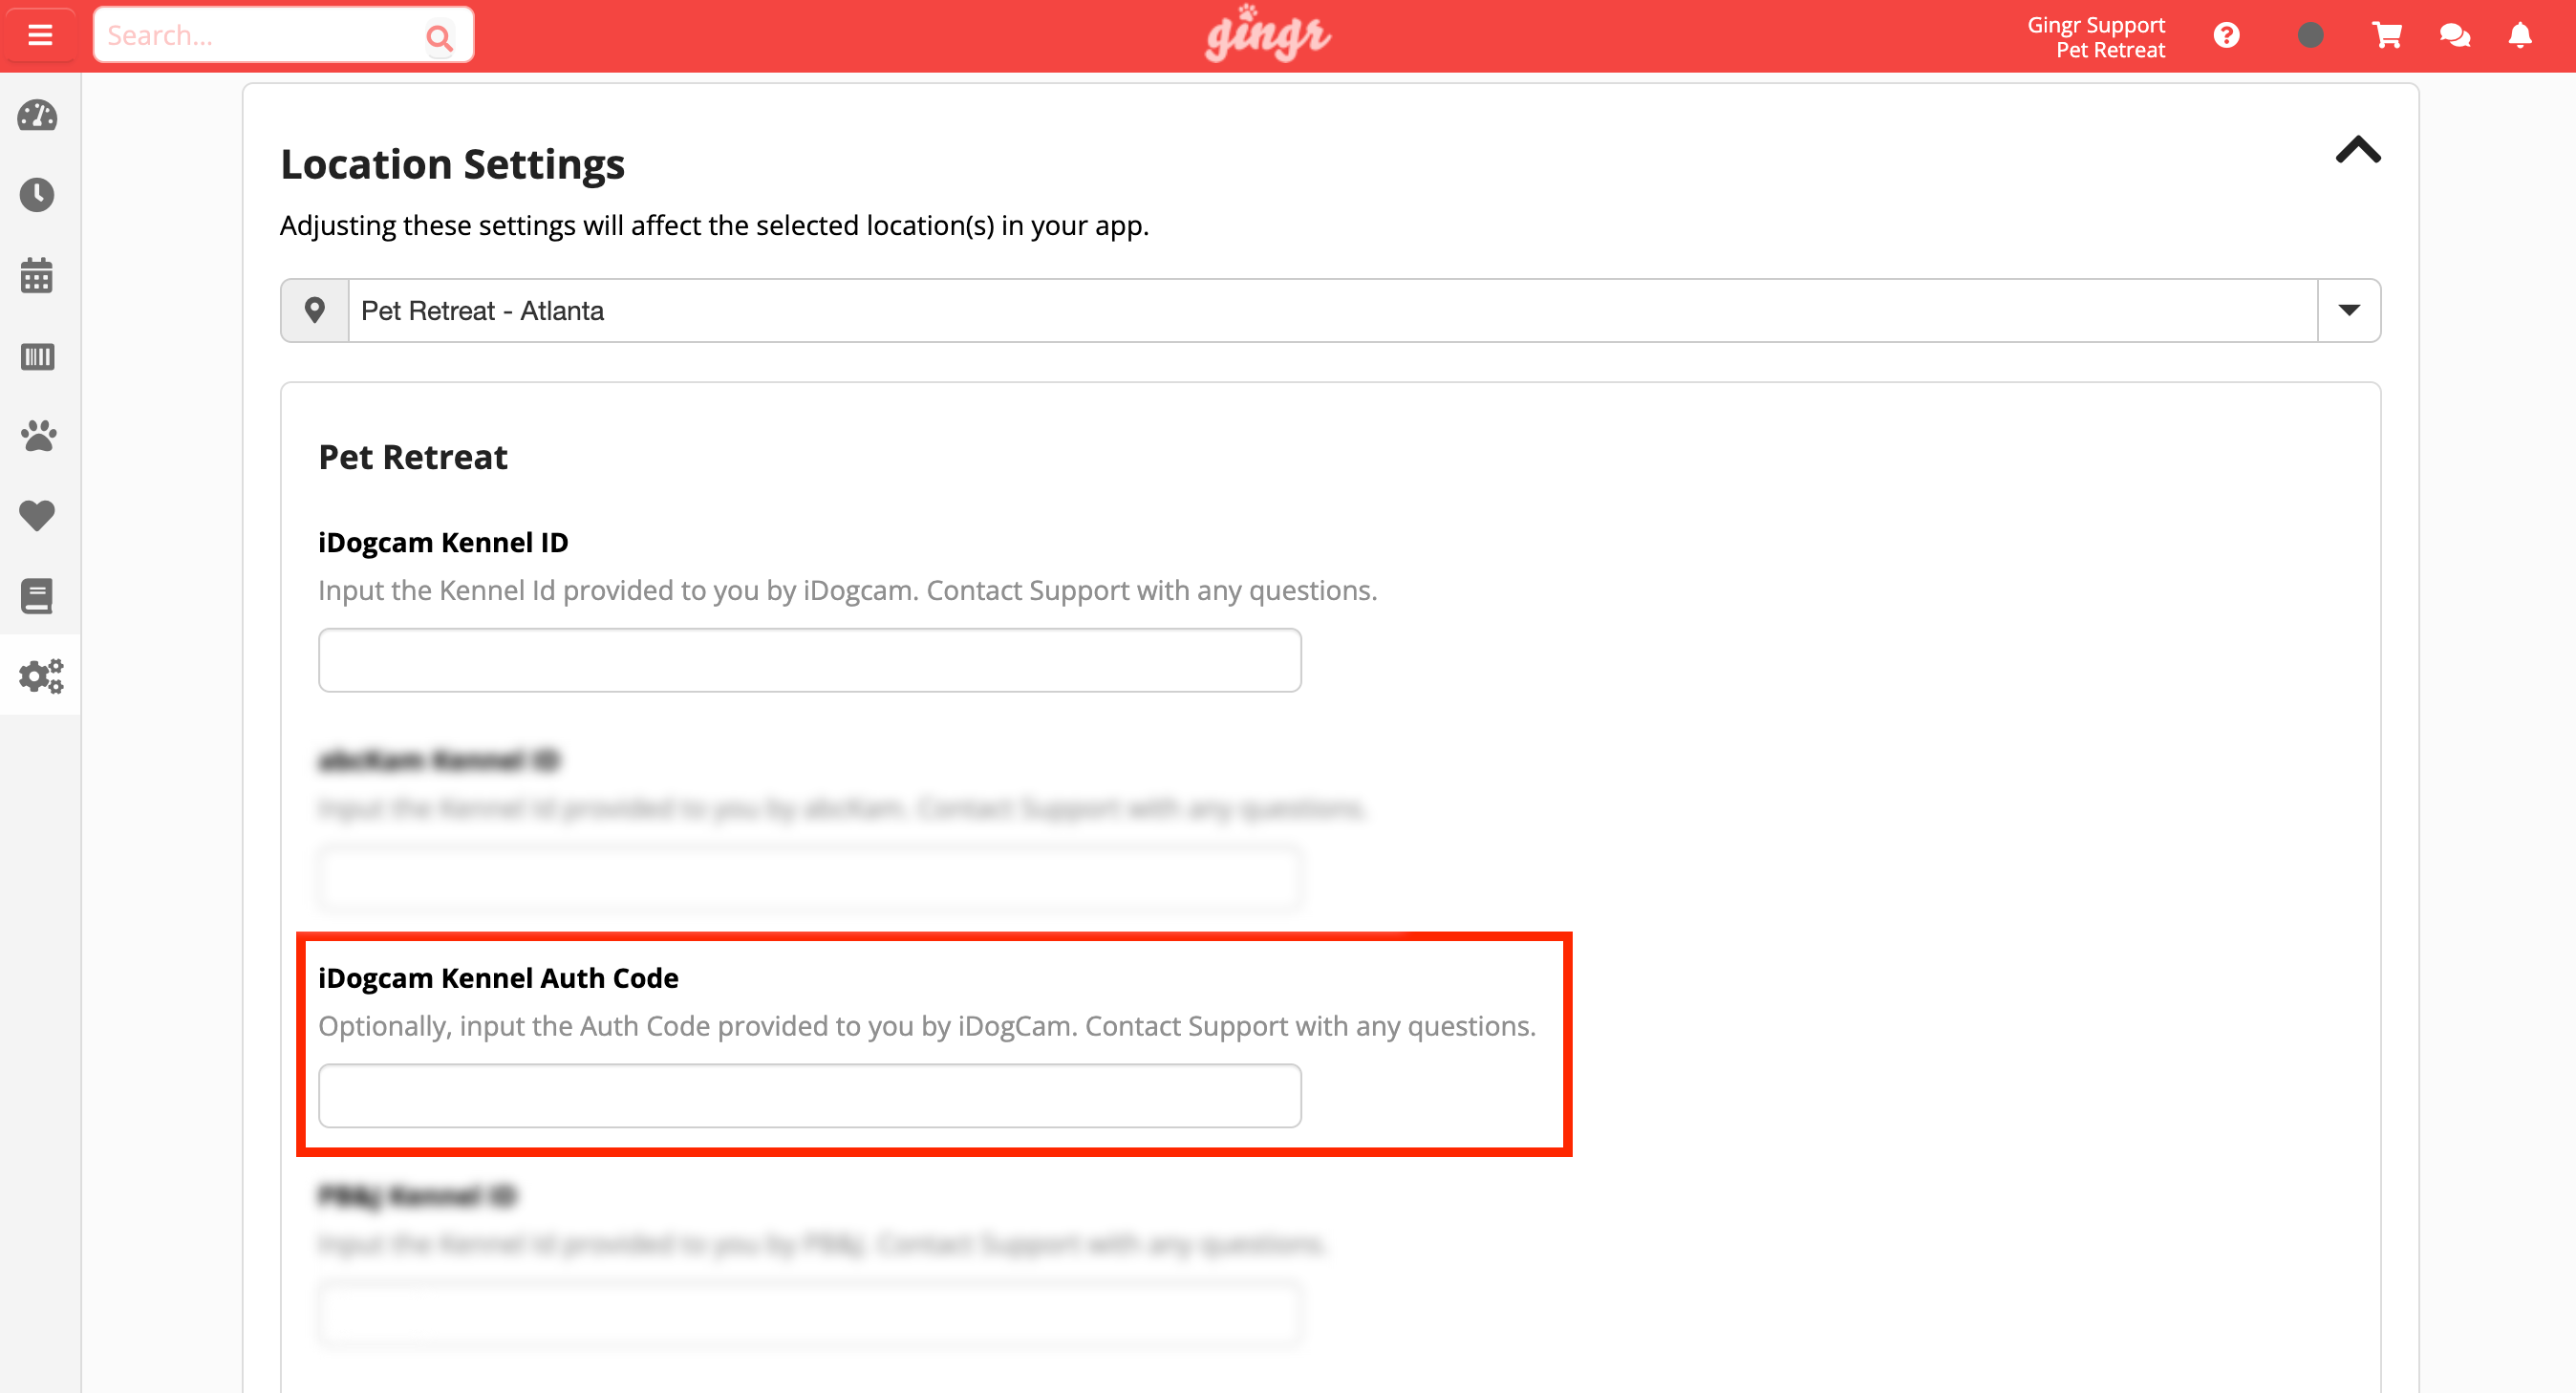
iDogCam Two-Way Authorization Code Integration
iDogCam has an optional two-way authorization code to enhance security when accessing their webcams. This feature allows Gingr customers who integrate with iDogCam to require an auth code for viewing live camera feeds, ensuring an additional layer of protection.
Configure Public Cameras (How-To)
Public cameras are a great way to offer transparency, build trust, and keep pet parents feeling connected. With Gingr, you can optionally choose which webcams you'd like to make visible in the customer portal.
This guide will show you how to add public cameras and how to control who can see them.
Add Public Cameras
1. Navigate to Left-hand Navigation: Admin » Webcams
2. Scroll to the public cameras section under your integrated provider:
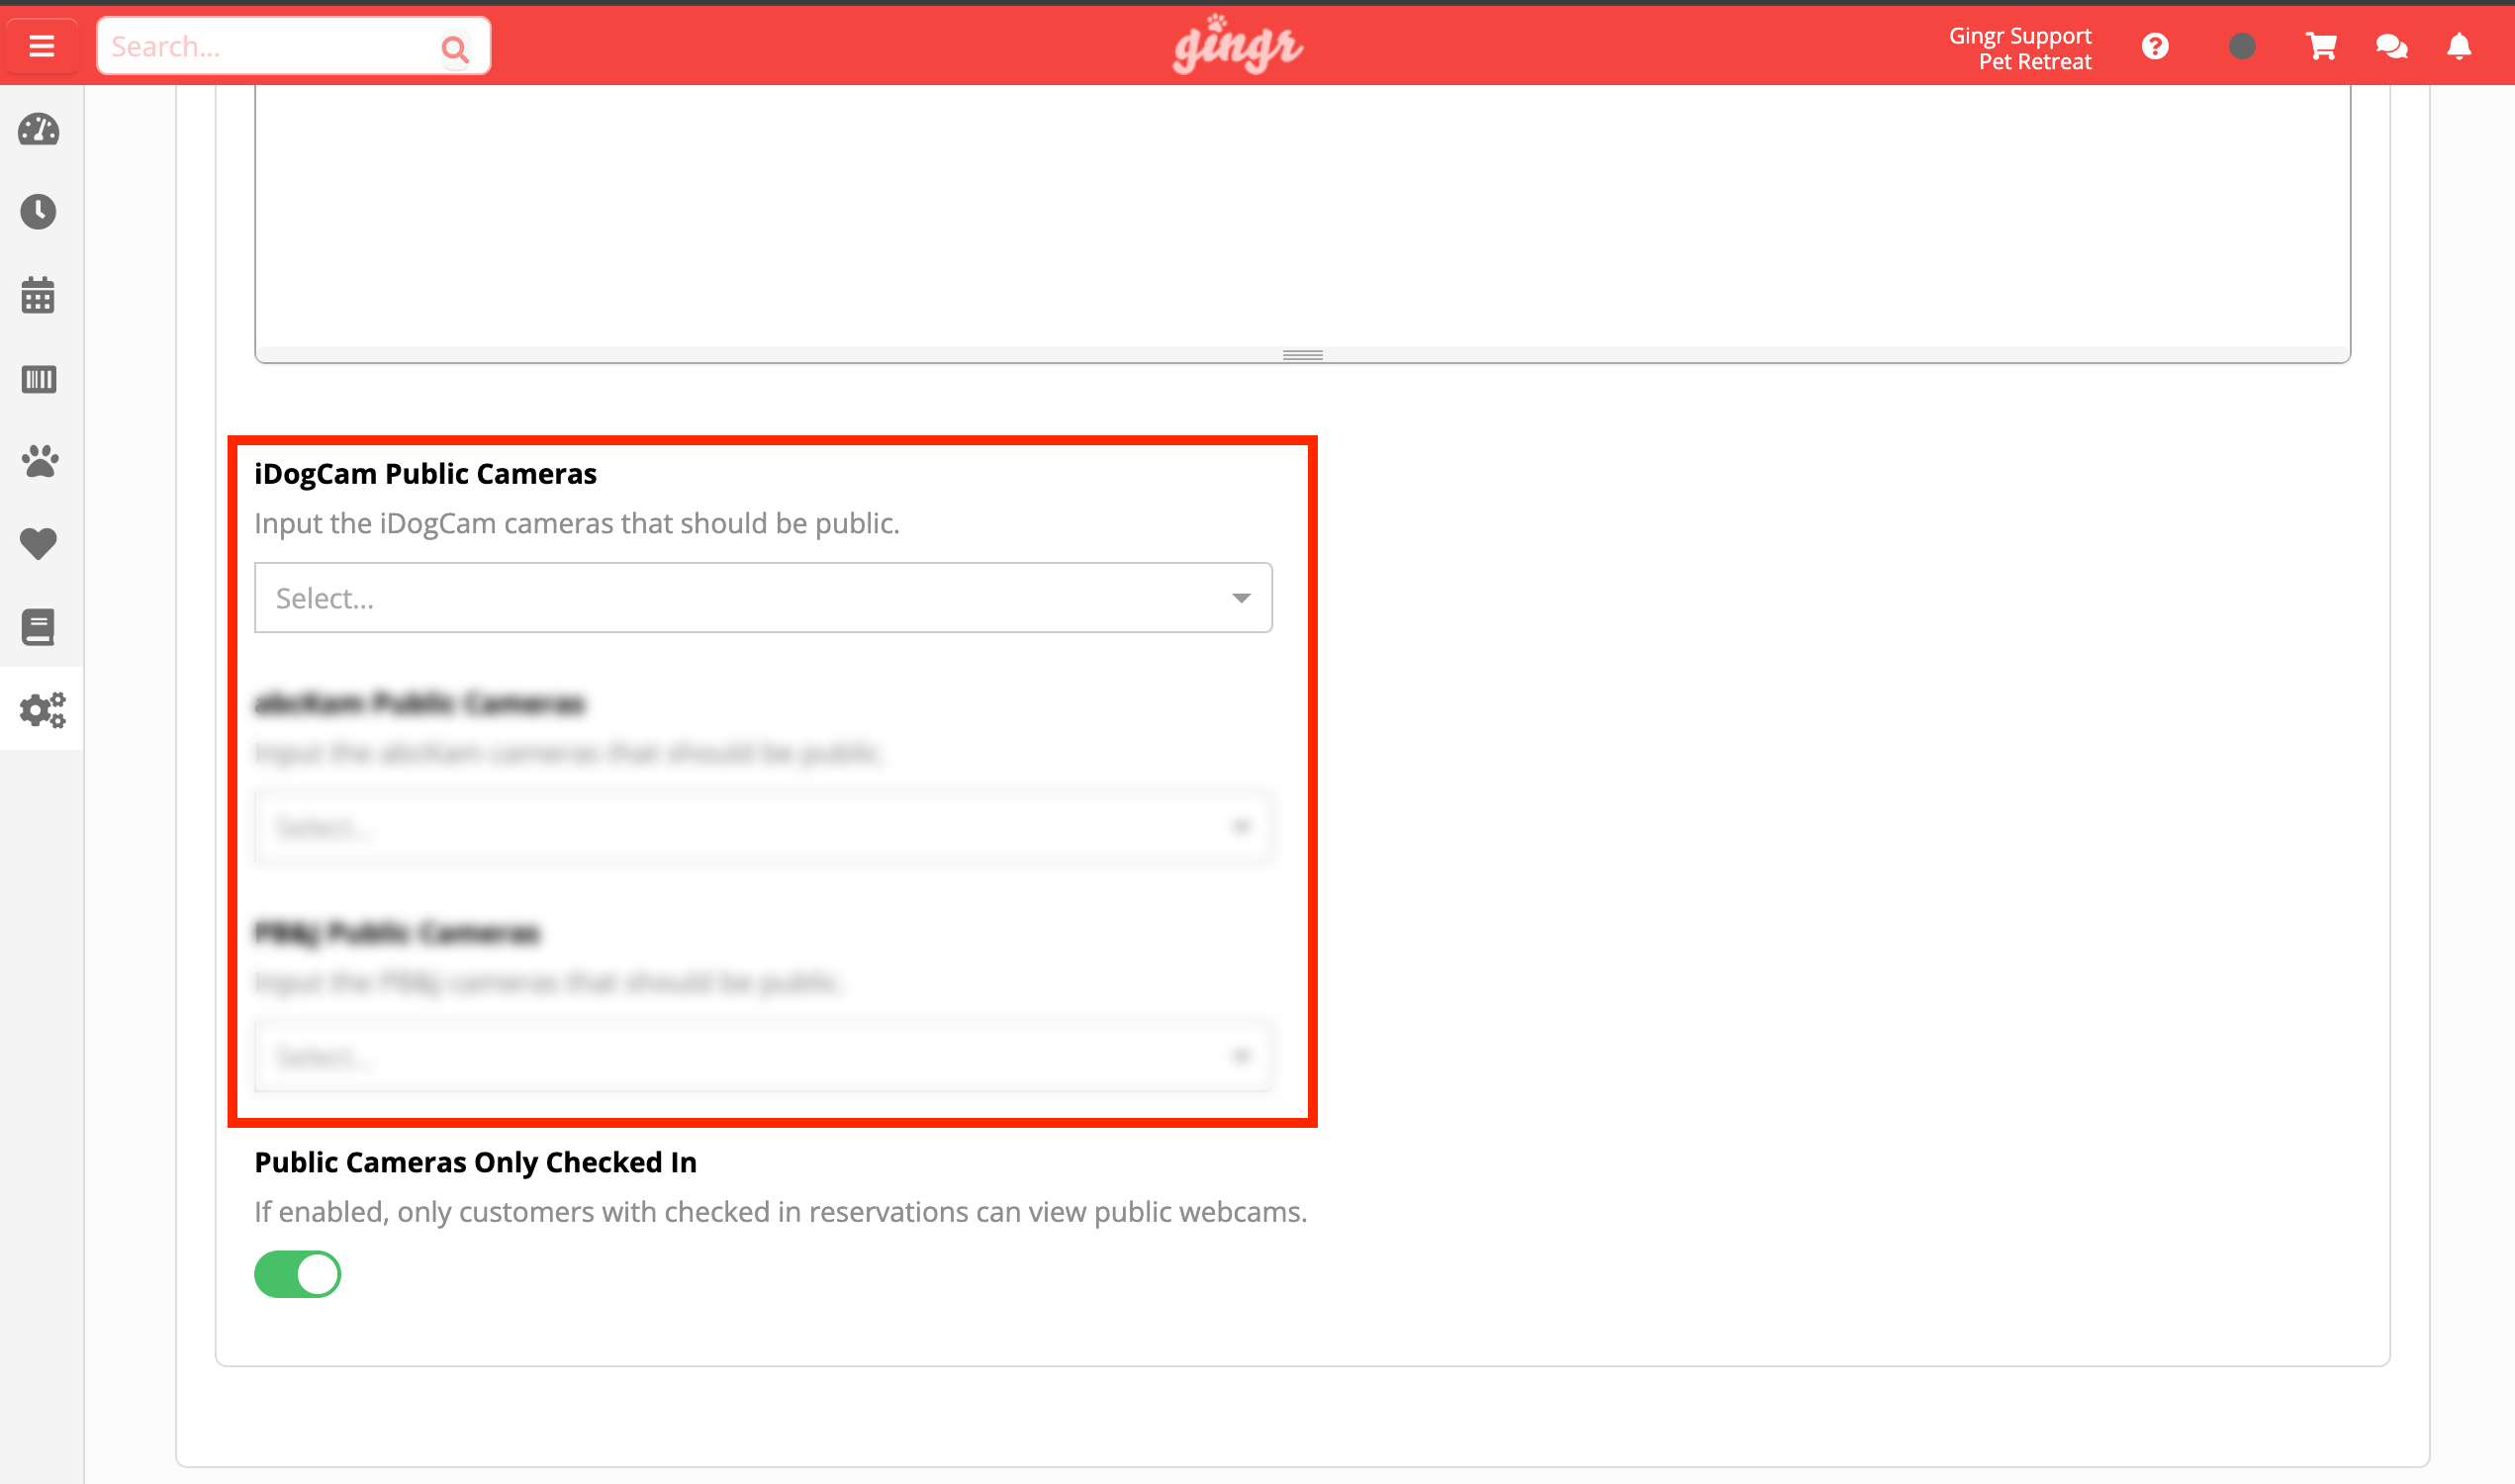
3. In the dropdown for your integrated camera, select which cameras you'd like to make visible to your customers.
The cameras you select here will appear on the Webcams section in the customer portal for all pet parents, depending on your visibility settings.
Restrict Public Camera Access to Owners with Checked-In Pets
By default, all pet parents logged into the customer portal can view your public cameras, even if their pet isn't currently checked in. If you'd prefer to limit access only to pet parents with an active reservation, you can easily change that.
Here's how:
1. Navigate to Left-hand Navigation: Admin » Webcams
2. Find the setting: Public Cameras Only Checked In
3. Toggle this setting on if you want to restrict webcam access to only pet parents with a pet currently checked in at that location
This setting helps keep access limited to just those actively using your services, while still giving a great experience to customers during their pet's stay.
What pet parents will see:
Once added, customers can log into their customer portal and go to View » View Live Webcams to see the full list of public webcams you are offering. From there, they can click into any camera to view the live feed.
Configure Lodging-Specific Cameras (How-To)
With Gingr, you can assign specific webcams to individual lodgings, so pet parents can view the exact space their pet is staying in. It gives customers a clear view of their pet's lodging, which can be especially reassuring during longer stays.
You also have the flexibility to decide whether webcam access should be complimentary or offered as a paid service on the reservation.
Set Up Webcams for Lodgings
To connect a specific camera feed to a lodging:
1. Navigate to Left-hand Navigation: Admin » Manage Areas/Lodging
2. Scroll down to the desired Area and expand it
3. Click the pencil icon near the desired Lodging to Edit
4. Locate the Camera field and press 'Click to select' under the integrated camera type you have
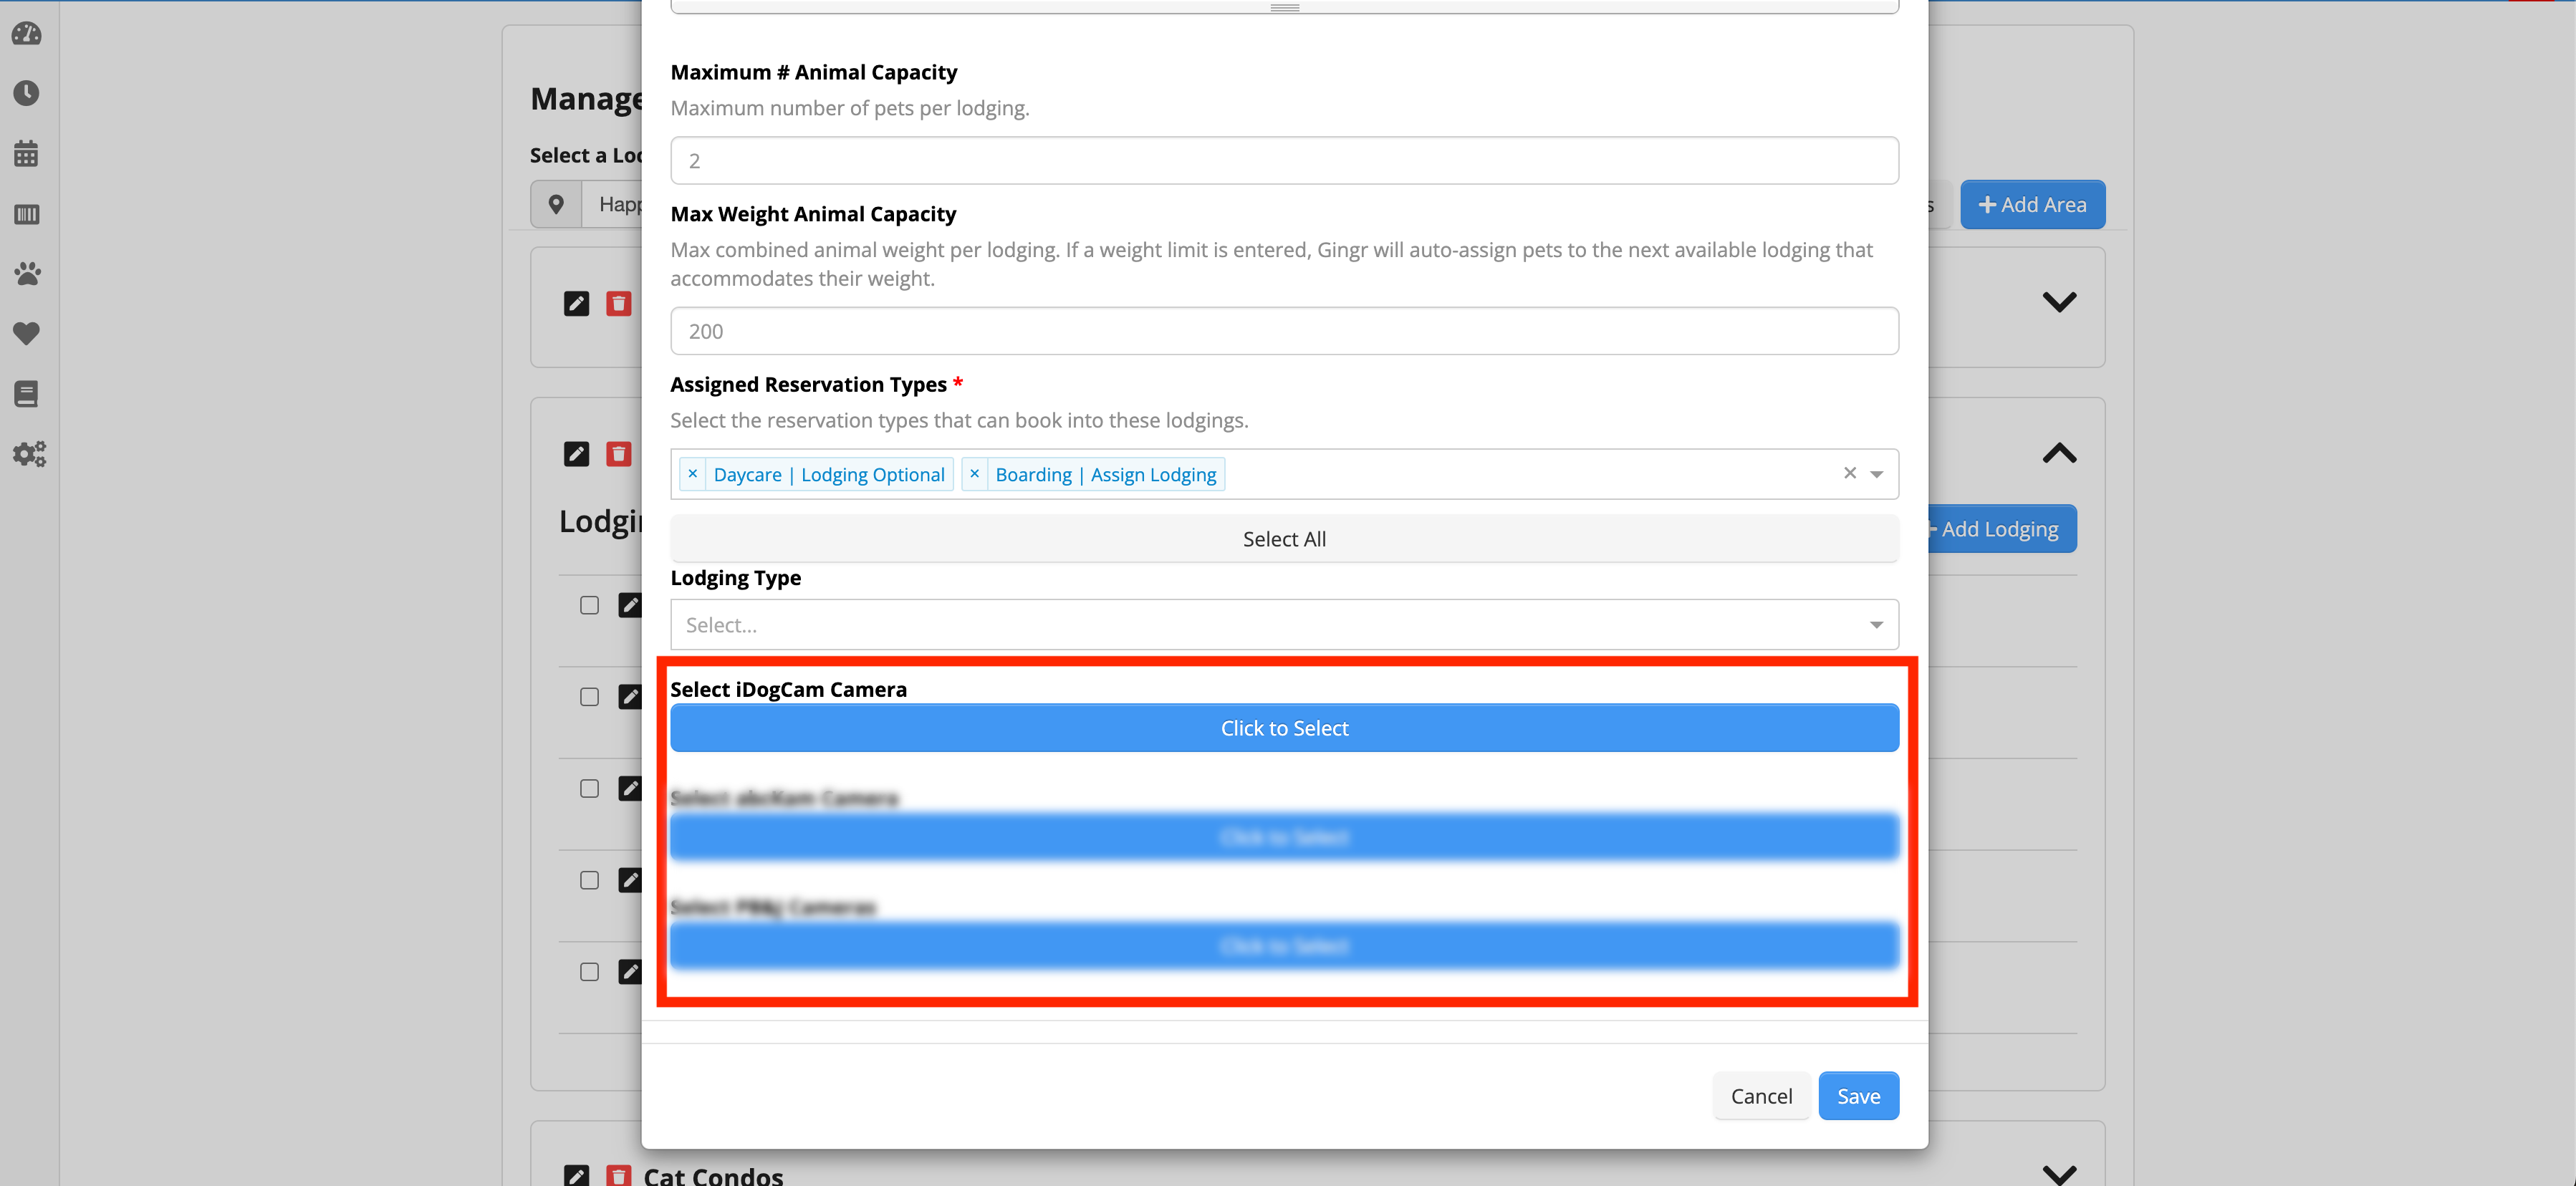
5. Choose the desired camera that should be assigned to that Lodging
6. Save your changes
Charge for Webcams as Additional Service on Reservations
If you'd like to charge for viewing lodging-specific cameras, you can do so by linking them to a paid service on the reservation.
Step 1: Create a Webcam Service
Create an additional service specifically for webcam access.
Reference: Not sure how? Check out: Create an Additional Service (How-To)
Step 2: Configure the Service
1. Go to Admin » Reservation Types & Services Configuration
2. Select the applicable Reservation Type
3. Find your Webcam Service and click Edit Settings
4. Scroll to the Customer Portal Options section
5. Enable Use for Webcams
6. Click Save
Step 3: Set a Price
On the same page (Admin » Reservation Types & Services Configuration), click the Rates button next to your Webcam Service.
From the slide-out menu, select the location, find your Webcam Service, and enter the rate you'd like to charge. Be sure to save your changes when you're done.