
Please contact iDogCam support with any questions you may have about the following process. Once complete please contact iDogCam support so that we can verify that the drive is connected and operational. Failure to do so may result in cameras failing to record.
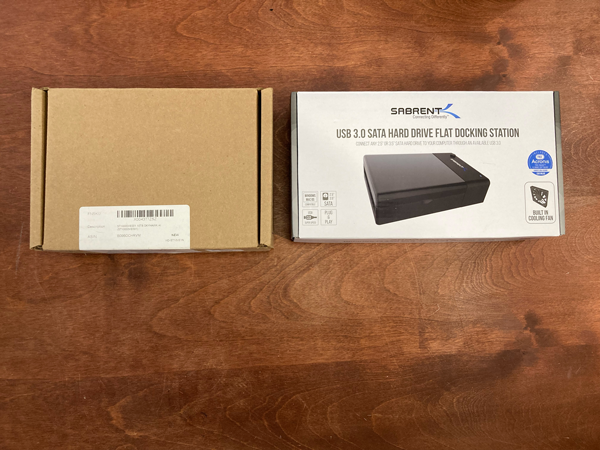
Replacing an Existing Hard Drive
Replacing the Drive:
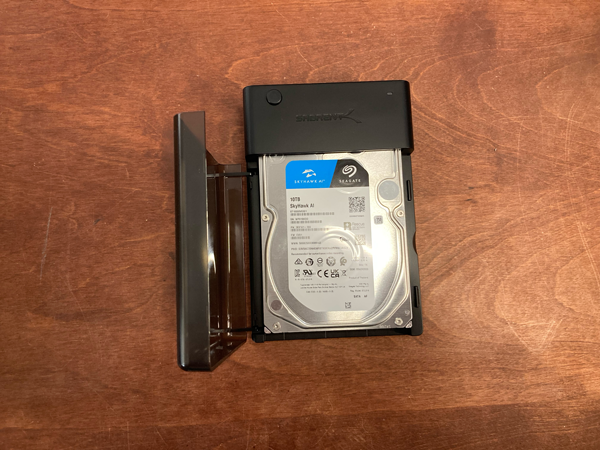
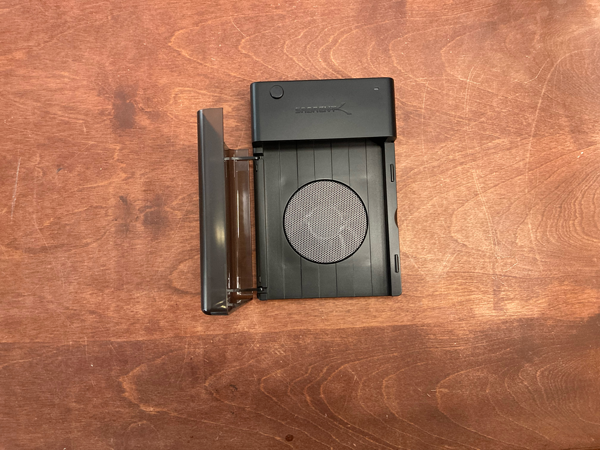
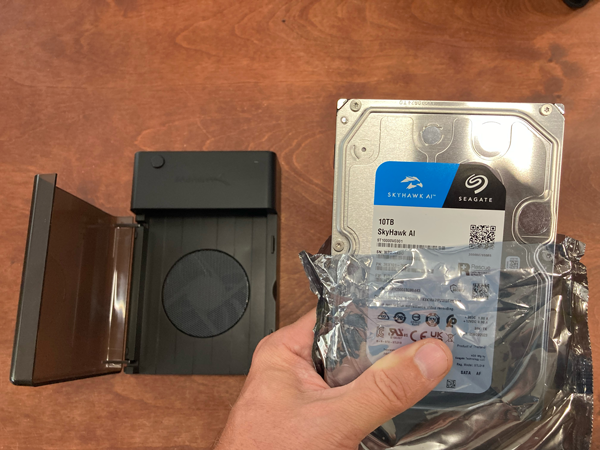
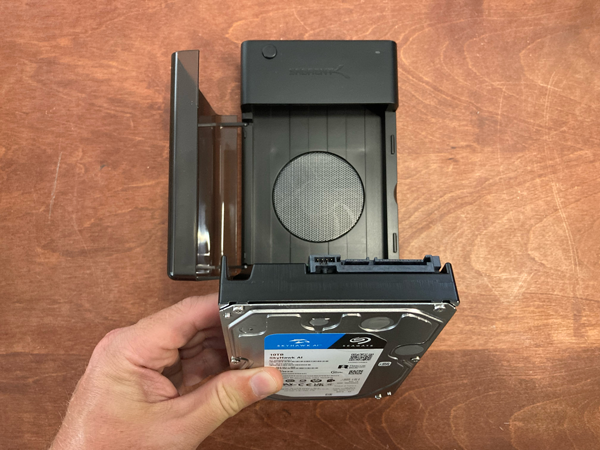
Your replacement drive has been shipped in with the drive already mounted in the housing. To make sure the drive did not become unplugged in transit please open the lid and check the drive connection. "use existing line" If the connection is secure the drive will not move any deeper into the housing
 |
|
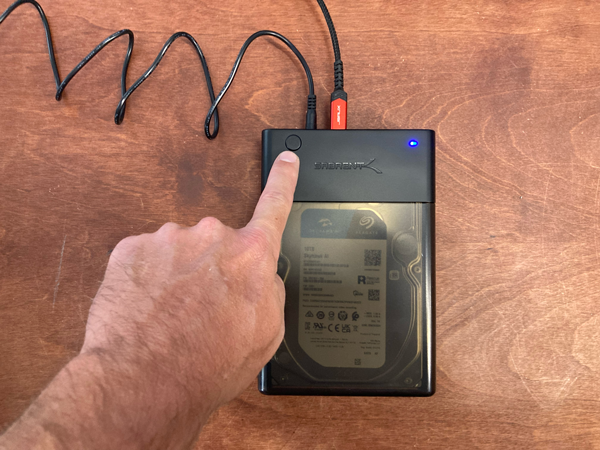
Close the clear lid. Connect the power supply and USB cable that came with the docking station. Power the unit up by pressing the small round button to the "in" position. A solid blue light will appear once it is on. |
 |
|
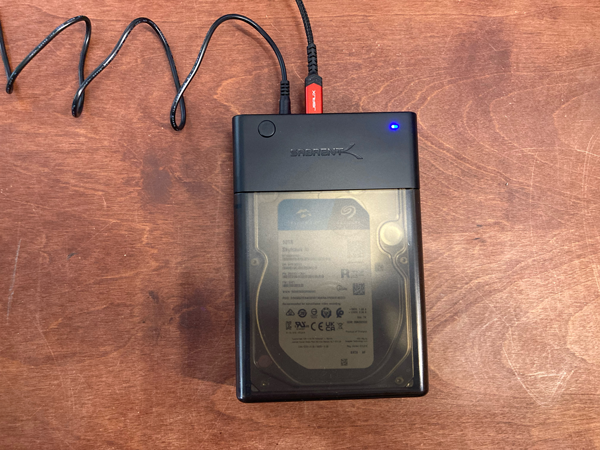
Please reach out to iDogCam support at 424-229-2146, ext. 1 to verify that the drive is connected and active. The completed unit MUST be kept in a horizontal orientation with its rubber feet facing down. |
 |
|
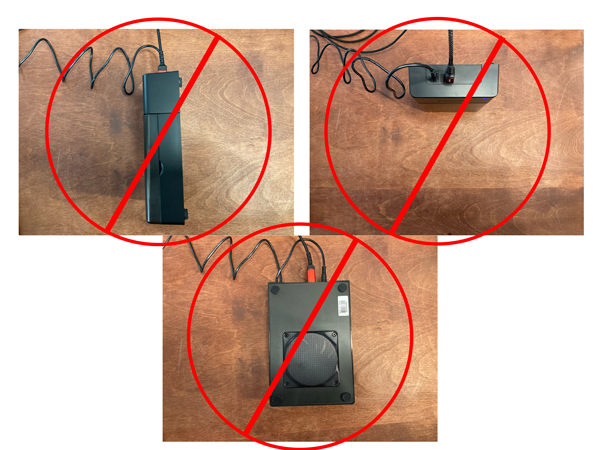
NEVER! Tip, flip, or stack (if multiple units being used) the unit(s) after the drive has been installed! |